8 Top Tips for a Fabulous DIY Wedding

Planning a DIY Outdoor Wedding?
Hi. My name is Monica and I am a venue manager for a DIY venue in the Yarra Valley. Over the last 8 years of supervising DIY weddings I have gained a lot of insight into what works and doesn’t work and the most common mistakes couples make.
You may be planning a blank canvas full DIY wedding, or perhaps just some items to help your budget or add that personal touch. Let me give you my top tips to make your DIY wedding experience a lot easier.
1. Be prepared for the wind
Wind is the most common problem for a DIY outdoor wedding.
Couples are always worrying about rain and hoping for a dry wedding day. But let me tell you that wind is the most common weather event that causes havoc, especially for a DIY wedding held outdoors. Firstly, because if it isn’t raining rather than retreating indoors, the wedding goes ahead outside. And most of our DIY couples haven’t thought of what wind, even a fitful breeze, will do to their DIY efforts.
Here are some tips to help ensure your wedding doesn’t get blown away.
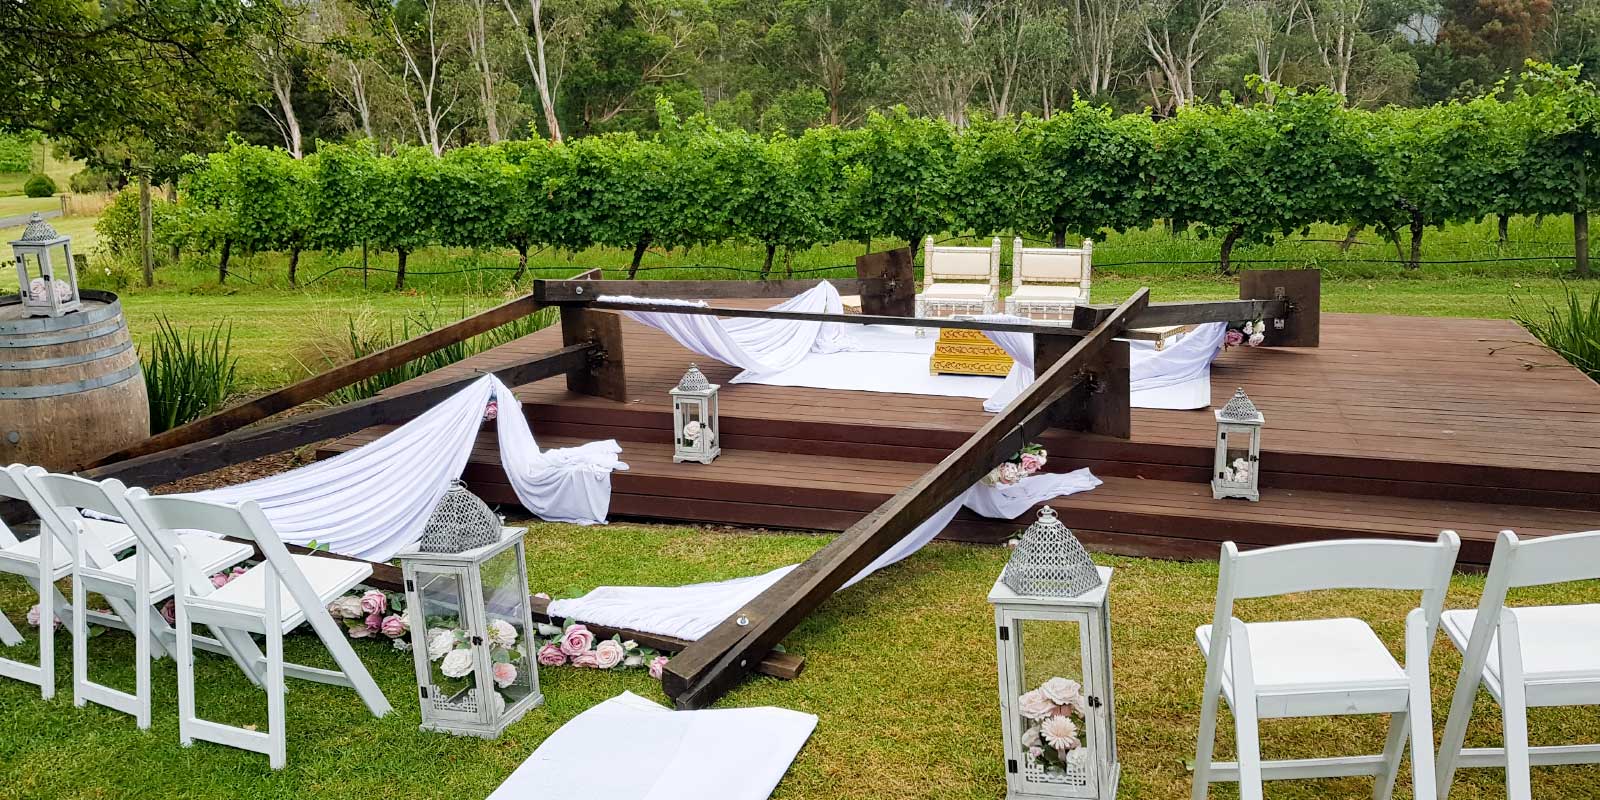
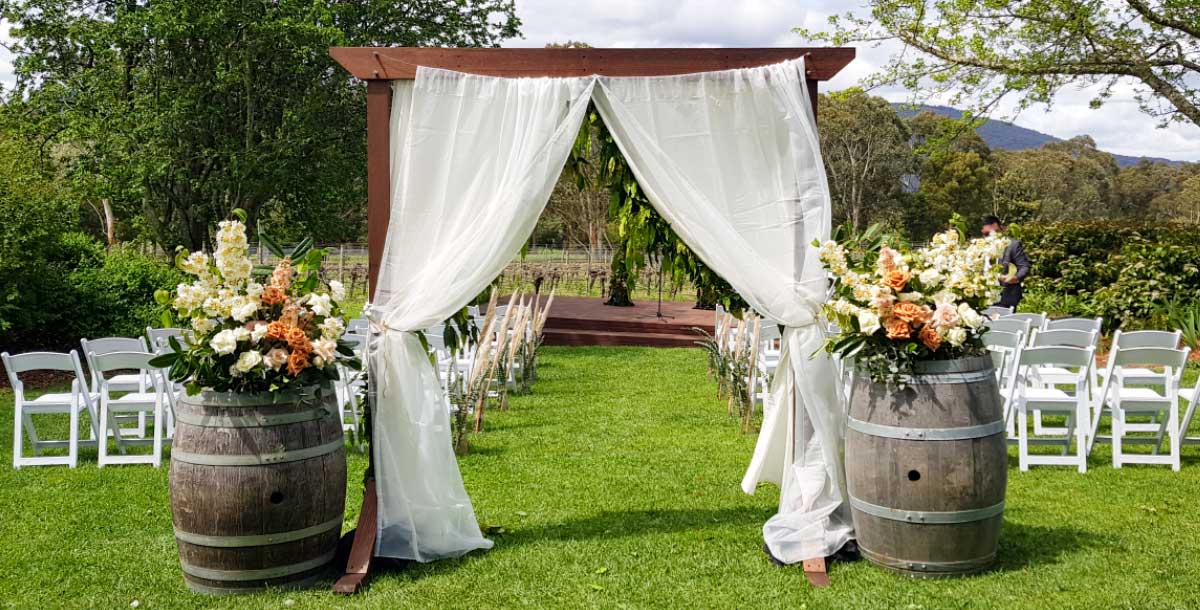
Sandbags
These are an essential item if you are putting up an arbour, signs, or anything that is expected to stay standing upright. This is especially important if it has the potential to injure some one when it comes down. In this picture the heavy wooden poles crushed some of the chairs in the front row – Luckily it wasn’t while someone was sitting in them.
Yes, you could use bricks or a heavy bucket of sand but you may want to consider how it will look or how you can hide them.
Even if there isn’t a breath of wind while you are setting up, still put the weights on the feet of your items as the wind can come up suddenly at any time.
Table cloth clips or weights
Table cloth weights are the type of thing your grandma might have in her drawer at home. An old-fashioned item that not many of us have seen, but they are BRILLIANT. Clip them onto the corners of your table clothes where they can’t be seen or maybe if you prefer where they can be seen – and voila your table cloth is secure. Or use table clips if you prefer.
My tip is not to try and secure the table cloth with the weight of your vases or other items. They are in the middle of the table and don’t do the job. You end up with stuff flying around and vases tipped over. Secure the table cloth itself.

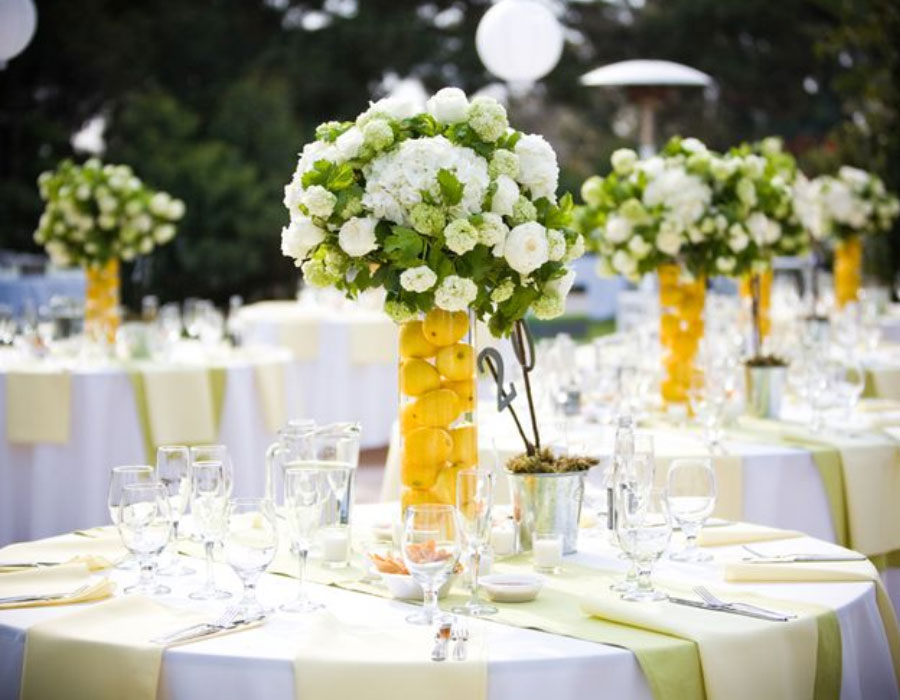
Weighted Vases
Having your vases tip over and put water over the table is another common thing in wind. While a vase may appear to be secure and you think the water is enough, often it isn’t.
Heavy based vases will do better, but another way to help is to fill your vases with pebbles, glass marbles or even fruit. Especially important if you are using recycled jars as they have very little weight to them.
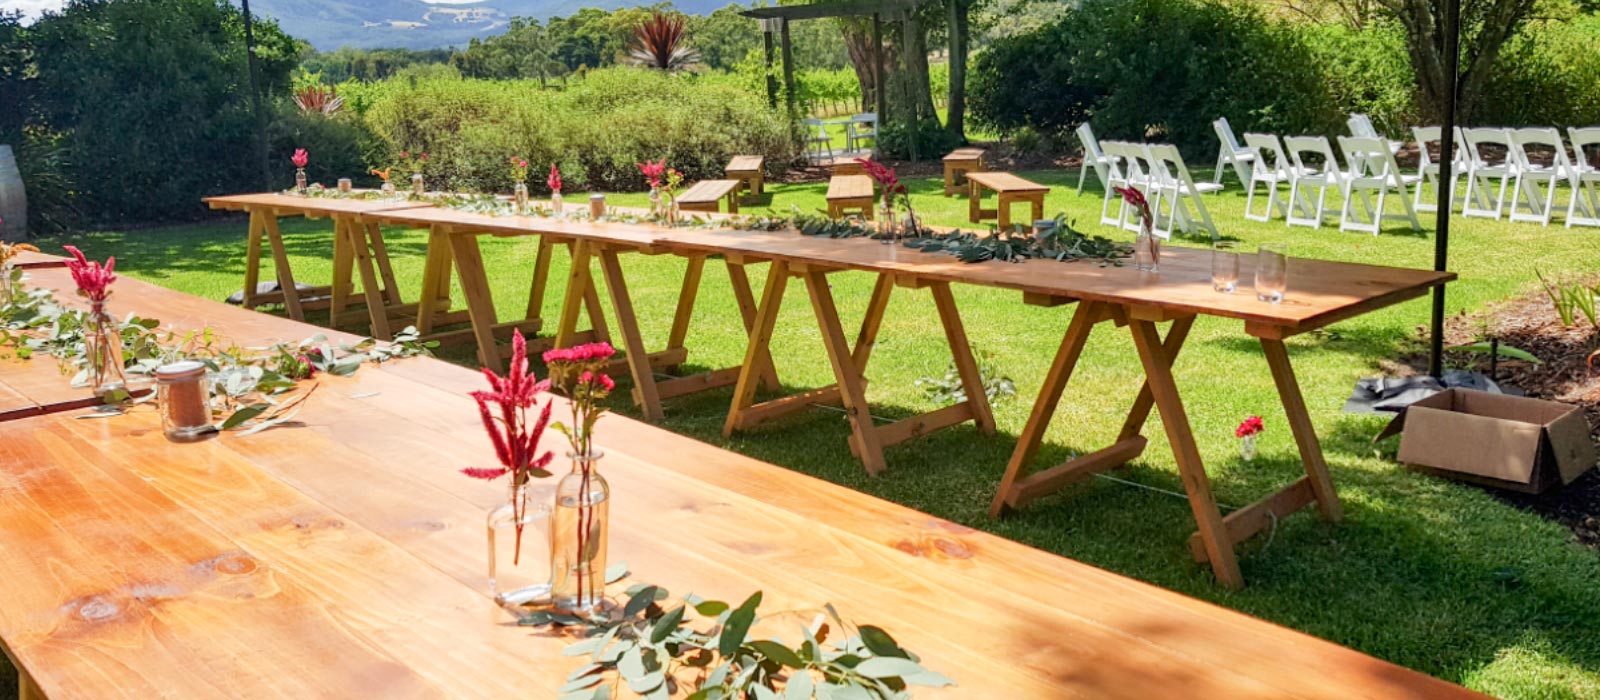
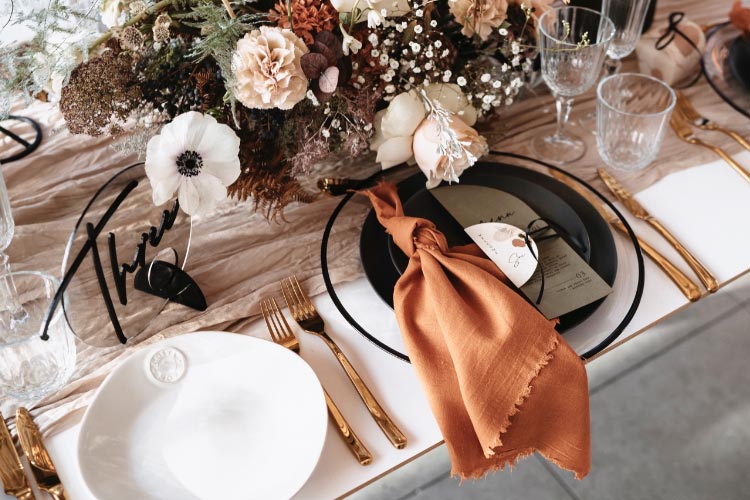
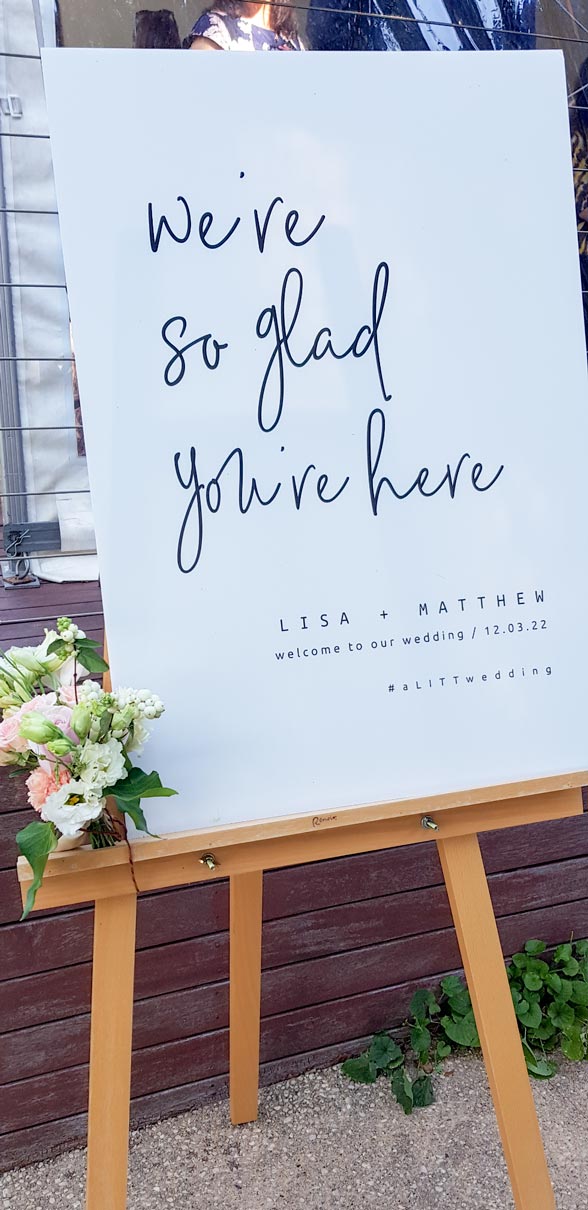
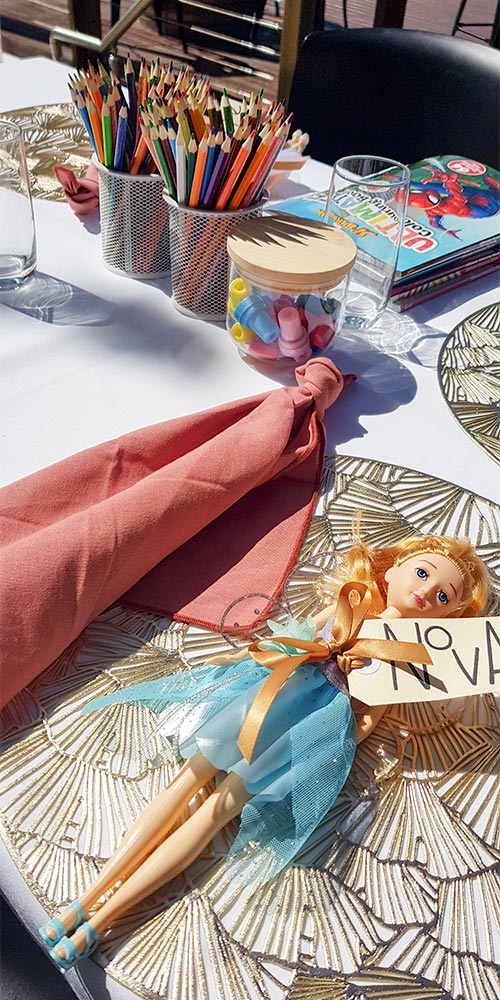
Greenery, menus, paper, name tags…
Yes, the light weight items such as paper name tags, menus and greenery suffer the worst in a wind, or even a small breeze. When considering your table setting have a think about how the paper items can be secured. Perhaps the menu could be placed under the side plate or under the cutlery. Can you instead have menus in frames sitting on the table? Name tags that are printed on paper could be tied to a heavier item. Or consider having your name tags printed on something other than paper that is less likely to blow away, such as wood.
Greenery placed on the table can be very light weight, it will need to be made into a garland with wire to weigh it down a bit, or have heavier items placed on top of it.
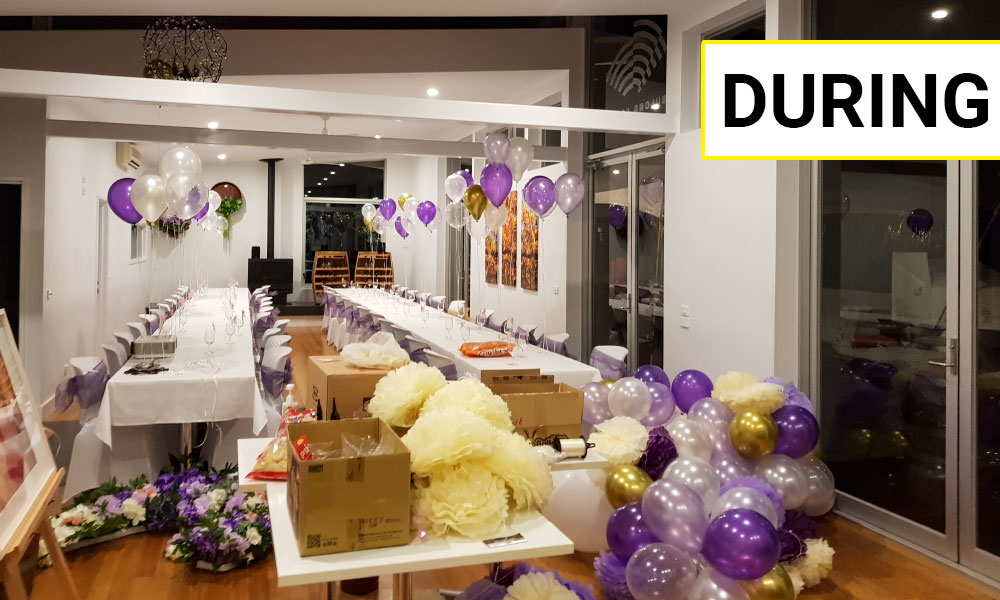
2. Do a Practice Run
One of the most common things I see is people arriving at the venue to setup and it is the first time they have ever done the task they are attempting, leaving the group in frustration and sometimes failure. Instead: do a “practice run”.
Are you attempting to construct your own arbour? Set it up at home first and see how it is done and how long it takes. Take notes, see what tools are needed for the job and put them in a box ready to come to the venue with you.
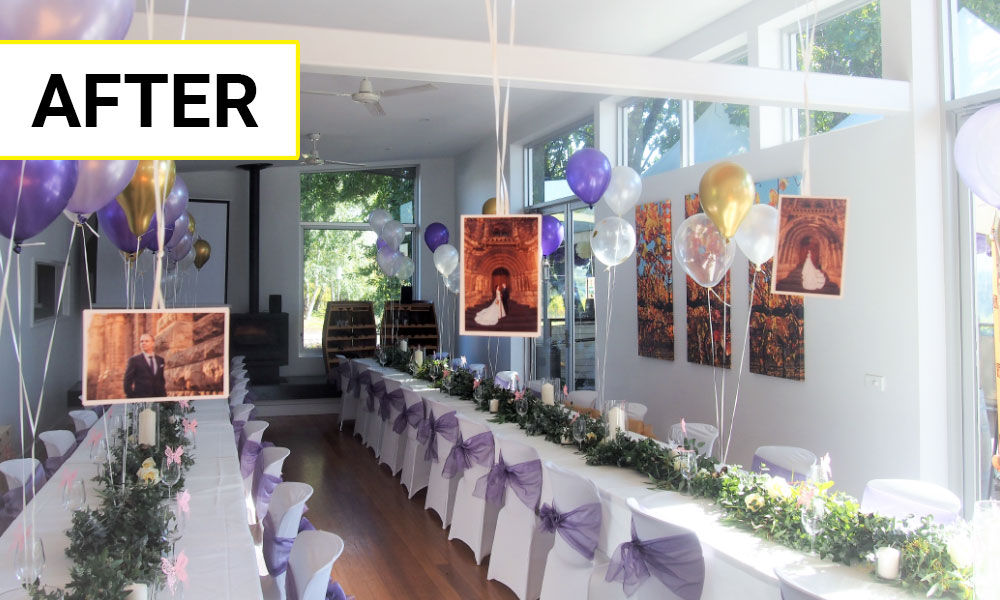
A table setting? Do a practice run at home. Set a place setting or two, see how it looks. Ask your venue for the dimensions of the table so you know how much space you have to work with. Consider the menu you are having – do you need room for shared platters? Sit down and pretend to be a guest who is going to eat a meal. You may find it is too crowded or you forgot an essential element. Then when you are happy take a photo or some notes so you can reproduce your perfect table setting with a lot less stress.
A practice run of your DIY will not only give you an idea of how long it will take you to complete the task on the day, but also ensure you have all the tools you need and make sure the end result is what you want, rather than just a vision in your head that you haven’t actually tried out.
This is also a good opportunity to complete some time-consuming tasks at home, rather than leave it to the day or at the venue when time is short. Examples would be: removing price tags and other sticky labels, unpacking, assembling, washing and polishing, writing signs, tie the napkins, sort the name tags into order to match the seating chart. How about plugging in and making sure they work or that the batteries are charged.
3. Organise your volunteers
Often you are both busy on the morning of the big day with getting ready, so volunteers (or what I some times call your minions) come to the venue to do the setup or decorating jobs. This is great and don’t we love friends and family that are willing and able to help out. To save them stress and to get the best result possible, make sure you are organised and communicate well.
First tip is to try and have one person in charge that you know is an organiser and a “take charge” sort of person. They need to be the leader of the group and the type of person that others will listen to. They will be in charge of the time line and making sure that the job gets done. Or if it can’t be done, making the hard decision of what to leave out or what the priorities are, if it isn’t going to be achieved.
Next make sure that your leader is well informed of your requirements. This may involve bringing them to the venue at some point and explaining your vision, and perhaps having them involved in the whole design and planning process.
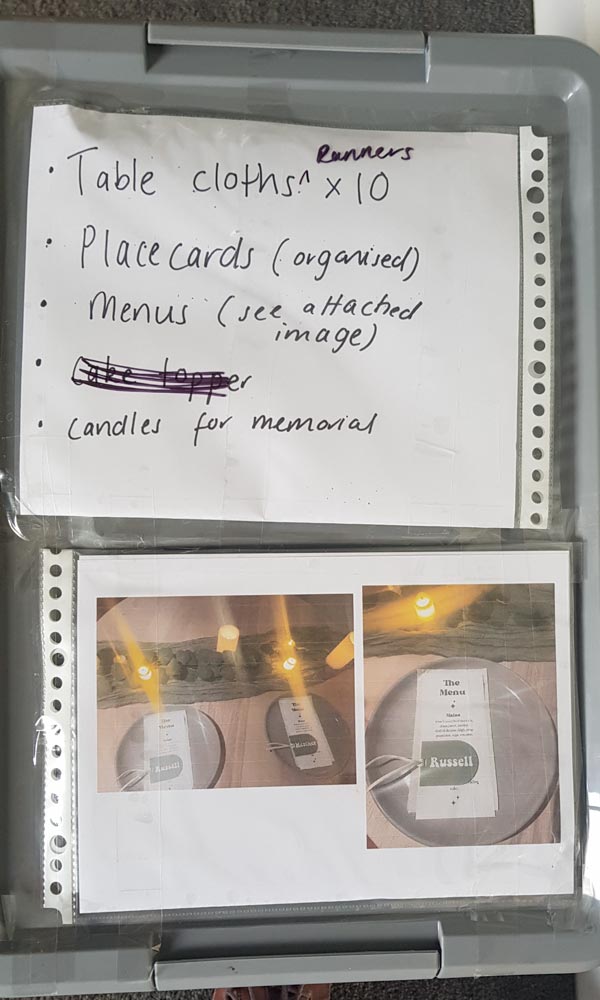
Finally, provide all your DIY items in a well organised way. A box for each table or each area with a list on top of the contents of the box, maybe even the name of the person responsible and a photo or diagram of the end result. This may be a photo of the table setting or diagram of sign placement. Have a seating chart and the name tags in order (so someone can walk around the table and place them down without having to sort them).
And certainly, try not give your volunteers more than is possible to achieve or beyond their capabilities. This is where the previous point, the practice run, comes in; it will give you an idea of how long things will take. You know your loved ones will do their very best to do what you want, but you don’t want to leave them stressed and overwhelmed and wondering if they should call you for help on your wedding day.
4. Don’t assume – have it all ready.
Have you heard the saying “assumption is the mother of all mistakes”. It can be very true. Many couples have made assumptions of what will be available at the venue or made assumptions of what is allowed, only to be disappointed.
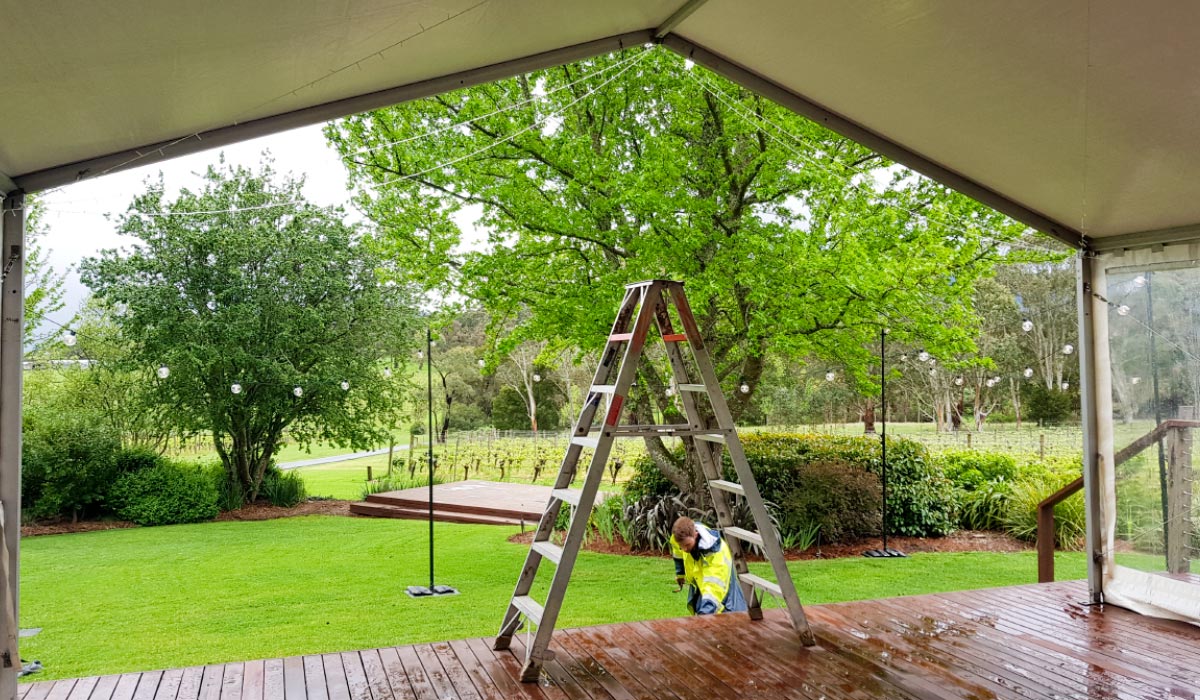
Don’t make assumptions about the venue having people available to help you. The venue may have someone there to open the gate and supervise, but they may not be capable of lifting, holding or carrying, and have their own job to do also.
Don’t make an assumption that there will be items available for your use, such as ladders. I recommend asking the venue in advance or just bring it all yourself. The most common things I am asked for are; ladders, extension cables, batteries, power boards, scissors, tape, and man power to lift, move, hold or advise.
During your practice run (# 2 above), determine what tools you will need and put them in a box, or make a list immediately to bring with you on the day. Put in a spare set of batteries, extension cords and power boards, sticky tape and scissors.
The next point is to ask first if you will be able to do something at a venue. Venues have different rules for different reasons, generally it is around insurance, or previous experiences that have left them with broken items or big clean-ups, so they have made a blanket rule going forward. In our case, we have rules about not putting stakes in the lawn as our watering system has been damaged so many times we don’t want to risk it again.
The most common DIY things you should ask first about are:
- Putting up lights
- Putting up marquees
- Attaching things to walls and trees
- Bringing your own food
- Candles
- Confetti
- Putting stakes into the lawn to secure items
- Time available to complete DIY
I recommend just having a discussion with your venue manager and describe what your DIY plan is. They can then give you the overall approval and advice, or tell you what can or can’t be done.
5. Don’t underestimate how long it will take
Any estimate you make on how long your DIY setup will take – double it. At least. Everything will take you longer than you think. and my tip is it is better to have a spare hour at the end for you to relax and breathe deeply, rather than running around stressed not being able to get it all done in time. So, double your estimate, start early and then relax.
How long will everything take? Back to point 2 and your practice run. How long did it take to set one place setting, multiply that out by the number of place settings you have and then double it. You should do this for all the jobs you want to get done.
You can then reduce your times down again by the number of people you have coming to help. If it was going to take you 2 hours to set the table by yourself. Get 3 other people to help you and you should be able to do it in 30mins.
There is one golden rule to all your time estimates. And that is; Have someone in charge who will keep your volunteers working rather than chit chatting! No point having 6 friends along to help if none of them actually do anything.
6. Be honest with yourselves – what are your capabilities
Now this will be hard, but it is time to be honest with yourselves. What are your actual capabilities? Are you planning to build your own arbour from scratch but have never actually picked up a hammer? Are you making your own wedding cake and have never baked anything? The best thing you can do for yourselves now is to be honest about your own capabilities and stick to what you know and are good at. Learning carpentry or baking is something you can take up another time, trying to add it into the mix of planning and executing a wedding is probably not the best idea and certainly not a stress reducing idea.
I have seen carpenters put up an arbour in minutes, it was beautiful to watch. And I have seen lovely couples almost in tears as they try to navigate a task which they have no skill set for and it is all falling apart.
Stick to what you know and for the rest of it – hire an expert or recruit a friend or family member who can do it. This can always be an excellent opportunity to allow members of your family or good friends who are keen to be a part of your wedding to contribute.
Ask yourselves, what’s your motivation? Are you doing DIY to save money or is it to make your wedding more personal. Once you know your motivation it will help you decide which elements you want to DIY.

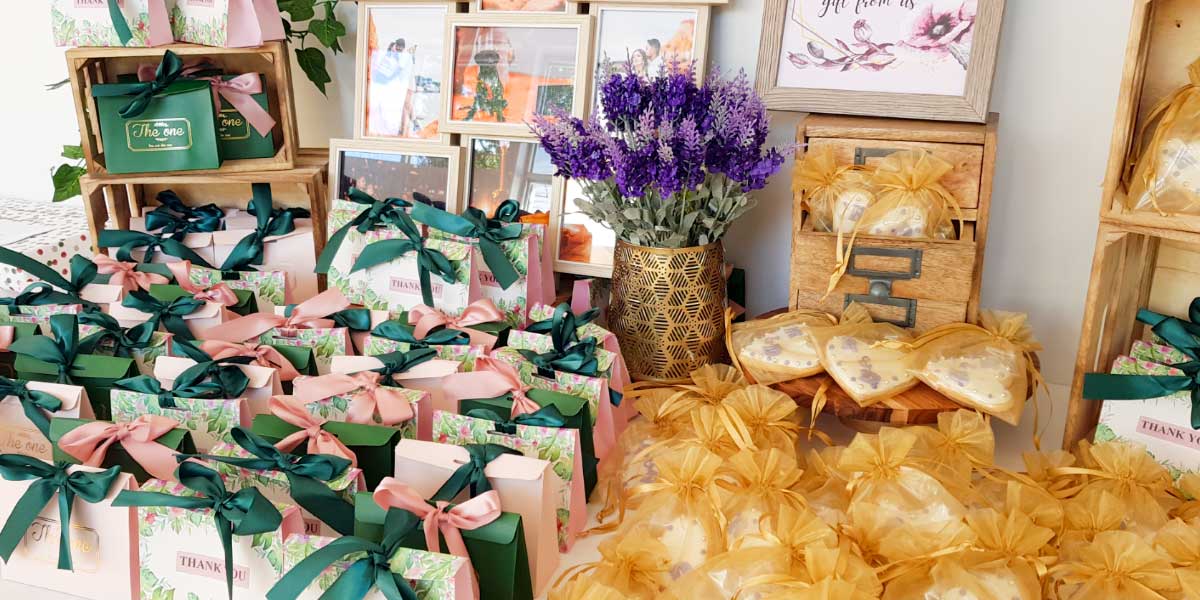
7. Adding that personal touch – wedding favours
If you motivation is to add a personal touch to your wedding, then my top tip is to do personal wedding favours (bonbonniere). The main reason for this is that it is prepared at your leisure well in advance of the event, and therefore doesn’t add to the time pressure of the day.
Also you can play to your strengths, something that you are good at or have at hand. For the home cook or baker, go with the homemade cookies, jams, chutneys. In a pretty jar with a nice label and its done.
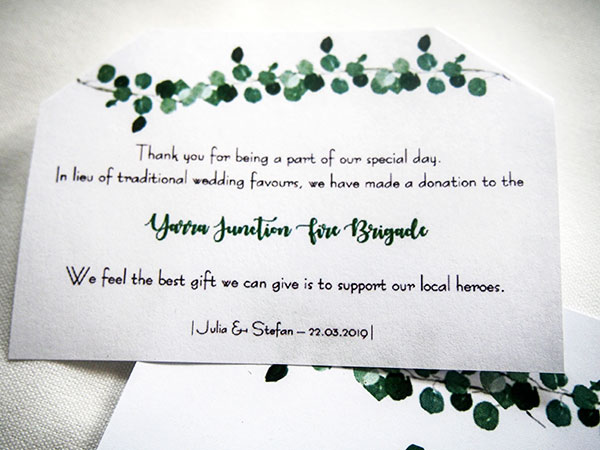
If you have a personal connection to a charity, then consider a donation instead of a wedding favour. To me there is nothing more personal if you are well known for being involved with a particular cause or group.
How about committing your time to instead give everyone a terrific performance, such as a song or a dance routine. Make it a surprise for your guests, or even your partner, and it is double the fun.
When someone steps up to make their speech and it turns out they have spent weeks secretly learning the native language of their partner and family and they give the speech in that language – well start handing out the tissues!
My final advice is “keep it simple”
When you look online you will see a million and one things you can do at your wedding and it is easy to get caught up in that world and start imagining your super-sized wedding. Take a deep breath and let it go, you don’t need to do everything. You are far better off planning a wedding that has all the fundamentals done really well with a few personal touches that your guests can see you have put a lot of thought into and that truly represent you, your partner and your families.
Most of all, if you are not enjoying the process, you are probably doing too much or trying too hard to execute elements that are not in your comfort zone – give them a miss and see if you can get back to enjoying planning your wedding.
Keen to get started on planning your DIY wedding?
Get in touch and we’ll help you create the prefect wedding.